As an Amazon affiliate, we may earn a small commision from qualifying purchases.
While a nail gun – finish nail guns work well here- will make the job faster, it’s possible to attach quarter round without a nailer.
Homeowners do it all the time and it’s not a really difficult task- your options are obviously hand nailing or you may even choose to glue quarter round to baseboards, the potential shortcomings notwithstanding.
Here is how to install quarter round without a nail gun to baseboards quickly and smoothly.
How to install quarter round without a nail gun
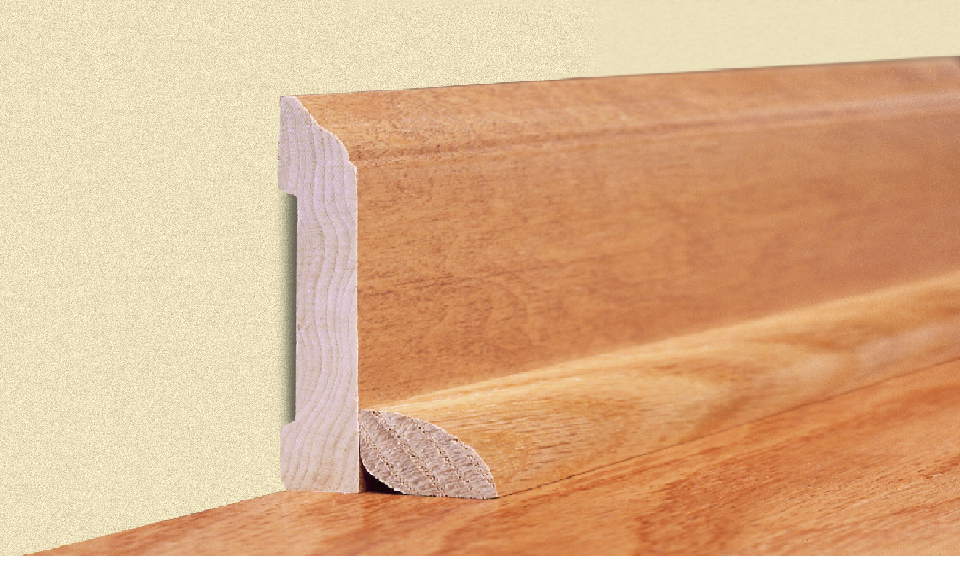
In general, we install quarter round between baseboards and the floor to hide flaws at the base.
You may also want to install quarter round around your windowsills or stairways to add elegance and durability.
In addition, you can make your laminate book-case appear built-in by adding some lengths of quarter round.
Here is how to do it the old-fashioned way (with a hammer)…
PS: We shall later look at how to glue quarter round pieces to lumber to avoid nailing (and subsequently the filling work on the holes plus the painting required to conceal the evidence of installation).
How to install quarter round without a nail gun but with a hammer
If you’ll be using a hammer, we suggest that you have a nail set – it will help you countersink the small fastener heads.
Also note that this is finish trim so you should use finish nails (these, of course, have smaller heads compared to regular nails).
Side Note: You should cut the quarter round into appropriate lengths and angles before you start nailing them – consider using a quarter round cutter to quicken things. You can also use a miter saw here.
Procedure:
Step 1: Sweep dirt and debris
Sweep all the corners of your wall (and also along the edges and where else essential) clean.
Step 2: Lay the quarter round flush against the baseboard
Starting at one end, place the first quarter-round flush in place.
Be sure to butt the piece up to the wall or corner if necessary.
Step 3: Nail it!
Point a 1-1/4-inch finish nail right at the middle (of the molding), 2” from the end.
You should hold the fastener so that is almost perpendicular, naturally, to the floor.
Now hammer the nail (do it with confidence) through the quarter round right into the baseboard.
You should, however, stop hammering when you have about 1/8-inch of the nail sticking out.
Next, grab your nail set and line up its tip (pick a nailset that’s a tad smaller than your nail head) with the top of your nail.
Hammer on your nail set to finally drive the remaining bit of the fastener all the way.
Step 4: Continue nailing
Continue hammering in finishing nails as described, about 2 ft. apart along the remaining length of your baseboard.
Step 5: Install more counter-rounds
Place the counter-rounds still to be installed as above, one after another, and hammer them in place.
How to install quarter round without a nail gun –using glue (how to install quarter round without nails)
The second option to cover the unsightly gaps is to skip the nailing entirely and glue the quarter-round to the baseboard with construction adhesive.
A couple of issues may make this approach less favorable:
First, the glue fails to stick well on painted surfaces so you may be unhappy with the adherence.
Secondly, the adhesive might be messy if you apply too much – it may even spill over to the floor creating quite an unpleasant sight.
Besides, it may not be easy to remove the quarter round in the future during renovations.
That said, it’s still a possibility so here is how to do it:
Step 1: Measure and cut the molding
Measure and cut the quarter-round to fit the length of your baseboard. Also make the necessary angle joint(s) as needed.
Step 2: Prepare the quarter round
With medium-grit sandpaper, scuff the quarter round side you want to set against the baseboard (make about five strokes).
Likewise, make a similar number of strokes with the sandpaper on the baseboard where the quarter round will go.
This helps enhance the bond between the two pieces.
Step 3: Apply adhesive
Apply the adhesive (be careful not to over-apply) to the rough side of your quarter-round molding.
Step 4: Attach the quarter-round
Line up the quarter-round against the baseboard then press it tightly against the wood.
Continue to hold it in place for a minute or so to have the materials bond strongly.
Step 5: Clear any mess
Use a damp sponge (or anything similar) to wipe off adhesive that may have seeped from the quarter-round and the baseboard seam.
Step 6: Repeat
Measure and glue the remaining quarter rounds to the baseboards as explained above.
Side Note: You should leave the glue to dry overnight for a firm bond.
How to install quarter round without a nail gun – useful tips
· Test fit the molding
To avoid problems down the road, dry fit the various pieces into place before proceeding.
Simply place the cut quarter-rounds on the wall to see how they fit.
You can cut them further down gradually as necessary to eliminate unwanted gaps.
· Don’t forget the holes
If you did a fantastic job with the nail set, your fastener heads will be typically unnoticeable.
But if need be, don’t hesitate to apply some sealant over their top- it will help you completely camouflage them.
Remember to sand down any mess once the applied sealant dries. A 180-grit sandpaper works well for this.
· How to nail quarter round without splitting
You should predrill the fastener holes to avoid splintering the molding where the nails go in.
Make the pilot holes just a smidgen tinier than the finishing nails you will be using.
Final thoughts
If you’re a DIYer like me and not a professional carpenter, you don’t need to invest in an air nailer that you’ll be rarely using.
Use the above steps to install quarter round quickly and easily and save big!
ALSO READ:
Paslode degreaser cleaner alternative: what can i use to clean my paslode nail gun?