As an Amazon affiliate, we may earn a small commision from qualifying purchases.
We have been speaking about liquid nails lately and we have already seen that they can be useful for some wood projects.
In this article, we shall be looking at how to use liquid nails on wood for the best results (depending on the project you have in mind).
Read it to the end if you have been wondering how to use liquid nails on wood
How to use liquid nails on wood
To start off, I will break the procedure into 4 simple steps:
- Preparing the surface
- Applying the adhesive
- Cleaning the edges
- Drying
It is worth noting that these steps apply to all projects involving liquid nails construction adhesives.
Okay, there may be slight variations maybe say in drying time but, in general, the steps still hold.
Let’s now dive into the specifics…..
Preparing the surface
You definitely want your project to be strong and hold for the longest time possible.
In order to achieve this, having a clean surface is super important- you really do not want dirt, grime, dust, old paint, and any other unwanted stuff to weaken the holding power of your liquid nails.
So you will begin by cleaning the surface thoroughly before using your construction adhesive.
Keep in mind that there are some cases where the dirt just won’t come off easily.
That’s why I advise you to use sandpaper to prepare the wood- It’s very efficient (just be sure to get the right grit size).
Once you’re done sanding properly, you can go on to the next step.
Which is…
Applying the adhesive
We all know this: Liquid nails come in tubes that allow them to be used in caulking guns.
Of course, this makes our work easier while ensuring there’s little mess when you’re applying liquid nails.
Here is exactly how to apply the adhesive if you will be using a caulking gun:
First, you will want to put your construction adhesive into it.
Once you’re done, cut the tip in a slanting manner to achieve a cut diameter of about ¼” to ⅜”.
Next, lay your wood face-down and pull the caulk gun’s trigger until some adhesive oozes out.
You can now apply the adhesive on your wooden surface (be sure to apply just enough amount).
You then strongly press the wood onto the other surface (you want to bond it to) and press the two together for between 10 to 15 minutes(typically).
When you are finished, remember to press the release on the gun and pull back the rod to stop the adhesive from oozing further.
Reminder: Once you take your tube out of the caulk gun, you should insert a screw into the opening of the tube. This prevents any remaining wood adhesive from drying up prematurely.
Important tips on applying the adhesive
You must be careful when it comes to applying the adhesive.
Indeed, a common mistake I find a lot of newbies repeating is applying the adhesive at specific points or in a straight line.
But why is this bad for my project, you may ask….
Well, while doing so may save on your liquid nails, it comes with a major cost: the holding power of your liquid nails will be greatly reduced (at best).
So, how exactly should you do it?
Here is the thing: Just apply your liquid nails in a snaking or zig-zag pattern as this is the best way you can guarantee the strongest possible hold.
What about small surfaces….is it okay to use apply at the edges alone?
The answer is still NO, unless you want to be doing frequent repairs.
Cleaning the edges
As you press the surfaces together, you might notice some liquid nails start to flow down the edges of the surfaces.
If that is the case, you will certainly want to clean this as it could attract dust.
It may even make the adhesive hold onto the surface of what you have placed the two pieces you’re joining on, potentially ruining your project.
I know folks are creative and there are other tools you can use to get rid of the smeared or flowing wood adhesive, but for me, I find using a putty knife or an old credit card(scrub it off) quite easy.
Clean finish? Tick.
Surfaces still strongly pressed to each other? Tick.
This brings us to our final step and it is leaving them for some time to allow them to dry perfectly.
Drying
The good news is that with liquid nails, you don’t require heat or any special equipment to make it dry.
The truth is they easily dry by themselves within a short period of time- This time ranges between 4 and 24 hours depending on the liquid nails brand you’re using.
In short, now leave your project for 24 hours (max) and your liquid nails on wood will be completely dried.
Yes, that’s true – your surfaces will in the end stick together so firmly that you won’t even have what it takes to separate them.
Side Note: For bigger surfaces (a good example is when you’re tackling paneling projects), you should support your surfaces for at least 24 hours to boost the holding strength (and effectiveness) of the liquid nails.
How long does liquid nails take to dry on wood?
Normally, liquid nails begin to dry around 15 minutes after application though it takes up to 24 hours for the liquid nails to nicely dry on wooden surfaces.
That said, it may take up to a week for liquid nails to cure completely and achieve maximum holding power.
This ordinarily depends on the brand of liquid nails you are using and the size of your wooden surfaces.
How to make liquid nails dry faster
While waiting for your liquid nails to dry requires patience, there are a few strategies that you may implement to fasten this process.
Here are the most practical:
Using large deposits of liquid nails
Using large deposits of liquid nails will greatly lower the drying speed.
Subsequently, you should follow the recommended instructions for your surface as you do not want to apply excess liquid nails(the instructions should point out the right amount to put).
Check the temperature
Also, lower temperatures will cut the drying time of your liquid nails.
To be clear, the optimal temperature for drying liquid nails is , for the most part, 70⁰ F (21⁰ C).
Anything below this will likely result in your liquid nails drying much slower so stick to the 70⁰F range to quicken drying.
Check the ventilation
The final strategy that you can try is improving your ventilation especially if you are working in closed spaces.
That’s because by circulating the air, you are speeding up the absorption process that makes the solvent in liquid nails construction adhesive evaporate and harden.
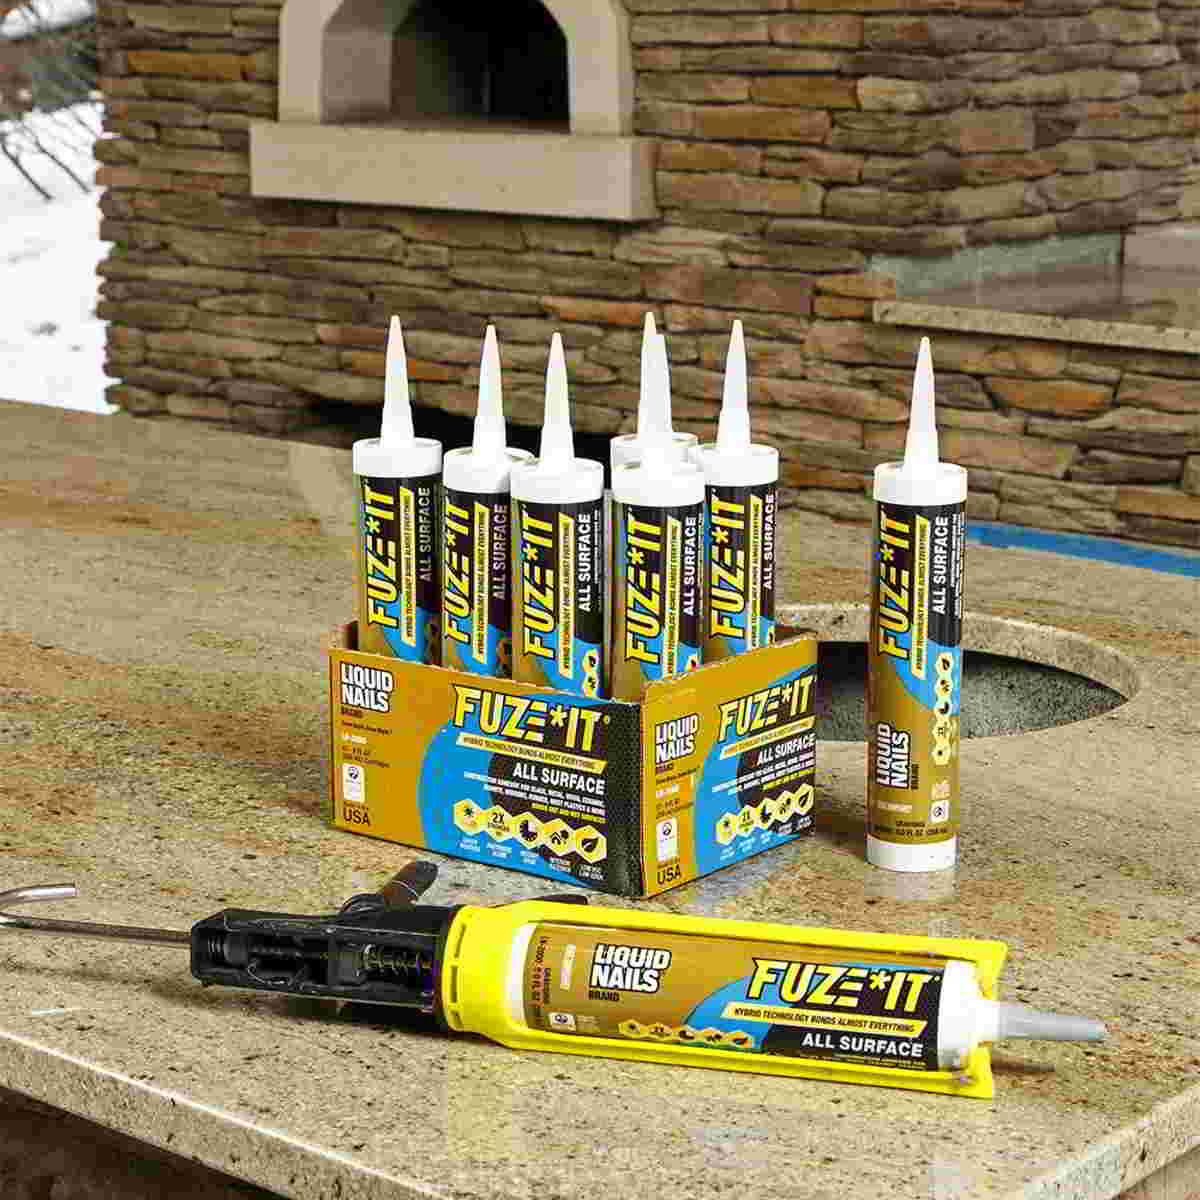
A word on the best liquid nails for wood
In my opinion, the best liquid nails for wood (and indeed for nearly all surfaces) is the brand going by the name Fuze It.
The thing simply sticks like crazy – and I mean to just about anything (including sticking wood to metal) and the hold usually outlasts many other brands.
How to use liquid nails on wood – wrapping it up
Generally, there are four simple steps when it comes to using your liquid nails on wood. These are:
- Preparing the surface
- Applying the adhesive
- Cleaning the edges
- Drying
See the earlier sections for the specifics.
ALSO READ:
What is liquid nails used for? [Detailed answer]
Liquid nails for baseboards – Do they really work?